Mock-ups are great! It’s a great tool to help your small or big business to level up your marketing content or help you visualize your product before you go all in with production. Mock-ups are easily available to buy on different platforms, but if you’re strapped for cash, you can totally make one on your own. In this post, we will discuss the step-by-step process of how to make a Mockup using Photoshop.
What is a Mockup?
Mockup is a full-size model of a design or product, used for online or digital product presentations. It represents an actual product, allowing designers to demonstrate and test an idea before it is put into production. Mockups are also used in the design process to help envision the end product’s appearance and show how it will function to its consumers.
What are the Important Elements that your Mockup Must Have?
Realistic visuals
Mockups should look as close to the finished product as possible, including realistic images, text, and graphics.
Responsiveness in Display
Mockups should be able to respond to different screen sizes, devices, and platforms.
Usability testing
Mockups should be tested for usability to ensure the design meets user expectations.
Create reusable mockup templates
While creating your mockup, you should always have its reusability in mind. Make something that you can reuse over and over again, to make your future work flow a lot easier.
Documentation
Mockups should be documented for future reference, especially when changes are made.
How to Make a Mockup in Photoshop
Step One: Choose Your Background Stock Image
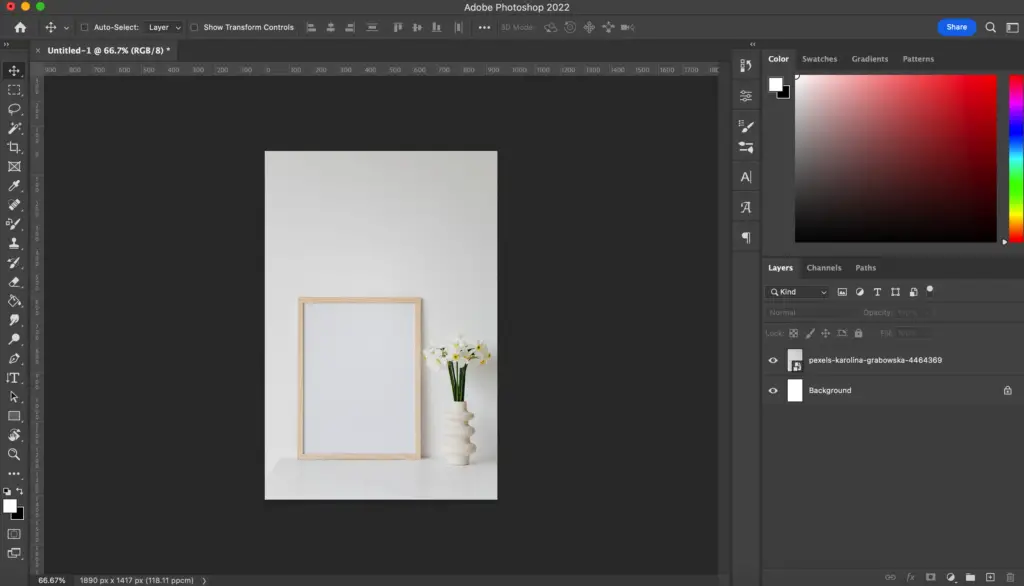
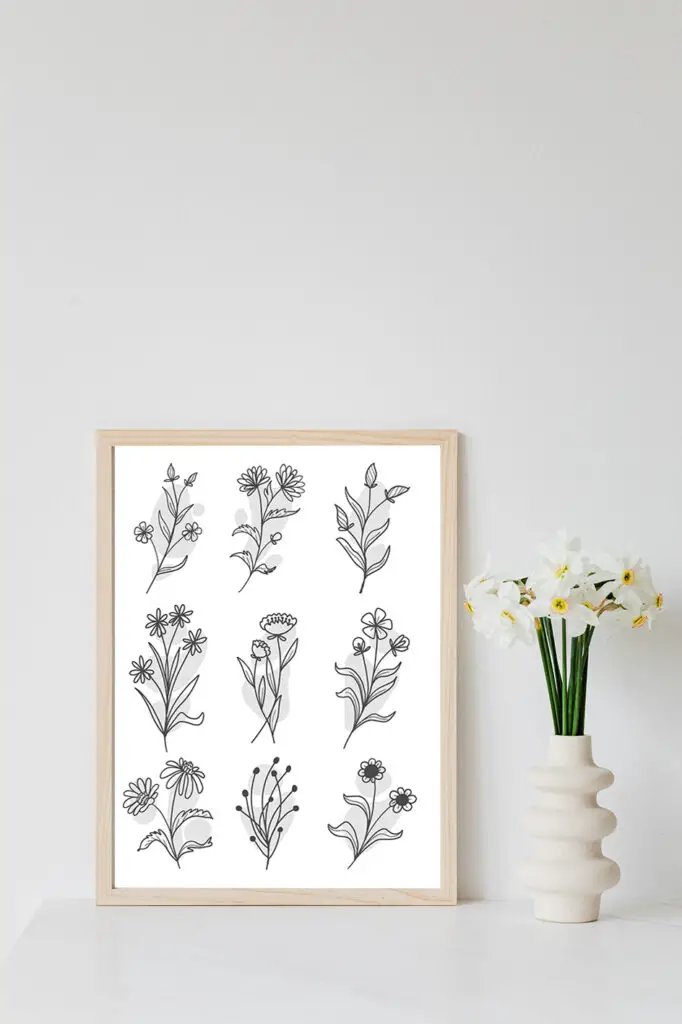
Before making your mockup, you should already choose the main image that you’ll use for your mockup. If you’re selling printable prints, then your mock-up should be frames showcased in different areas of a home, office, etc.
When selecting an image for your mockup background, there should be some things you should consider. The first is keeping the perspective simple. The simpler the perspective, the easier it will be to edit. Have a black, white, or neutral background in your image. This will make editing also easier. Lastly, if you are downloading the image from a stock provider, make sure to check that the photo is completely royalty-free, and allows you to use it for business. If you don’t check this one, you might end up having to deal with copyright problems.
Step Two: Create Your Shape
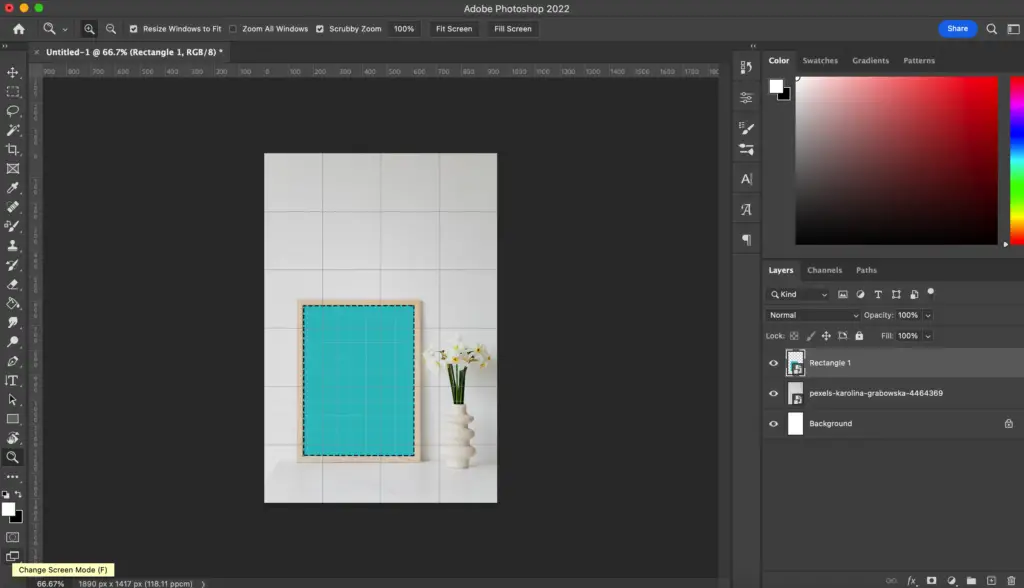
Create the shape that you will use as the background of your mock-up, by using the “Shape” tool in the toolbar. You don’t have to make it perfect, but the goal is to make sure it covers the whole space you’ll be using. To make this step easier, turn on your grid lines as a guide.
Step Three: Turn your shape into a Smart Object
Before you adjust the image to fit the screen in the photo better (Which you’ll see in Step Four), convert the shape you drew into a Smart Object by right-clicking the layer and selecting “Convert to Smart Object”.
Step Four: Adjust the Angle
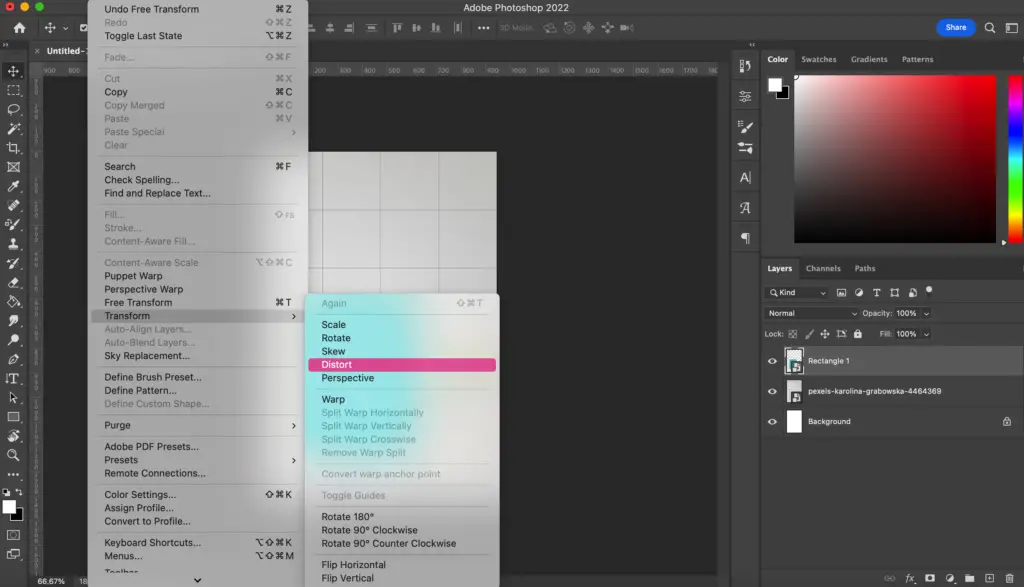
To adjust the perspective of your smart object to perfectly fit your mockup background image, use the Transform tool. To get there, click on Edit > Transform > Distort.
Step Five: Insert your image
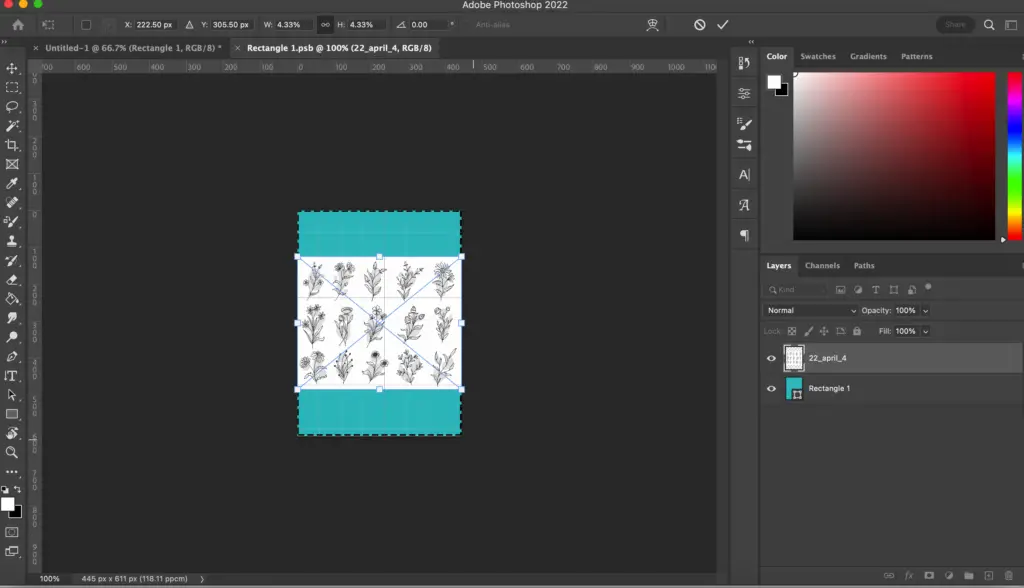
It’s time to insert your actual product image into the mockup. To insert your image, double-click the Smart Object Thumbnail in the layers panel. It’s important to note that you’ll double-click it on the layers panel because if you double-click on the layer itself, it won’t work. Once you double-click it, a new screen will pop up which looks like the shape of your Smart Object.
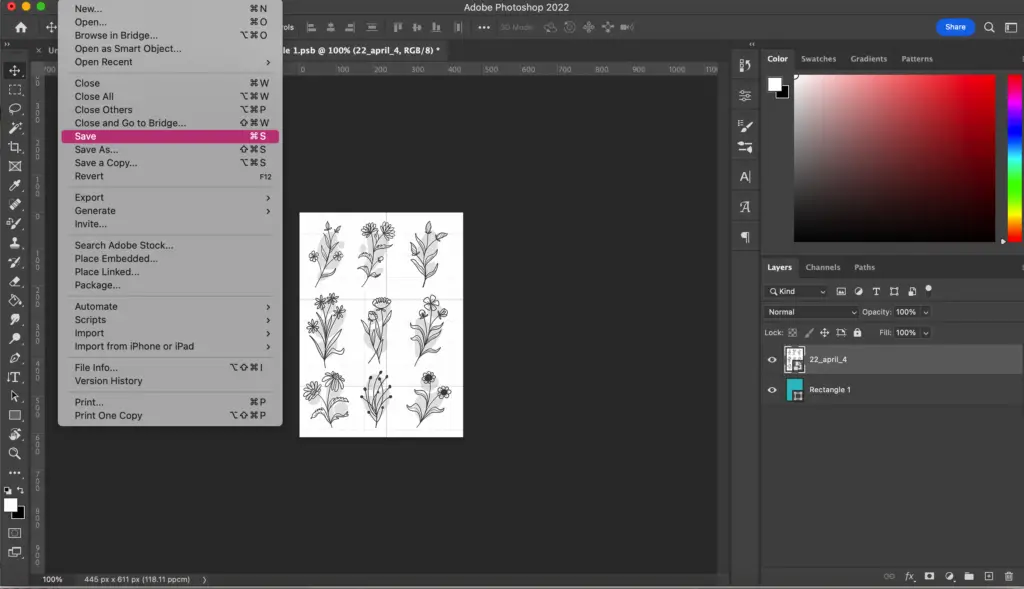
Open your product image in Photoshop by either dragging it or File>Image. Now adjust your image according to your desired look. Click SAVE to save your file, then close the window.
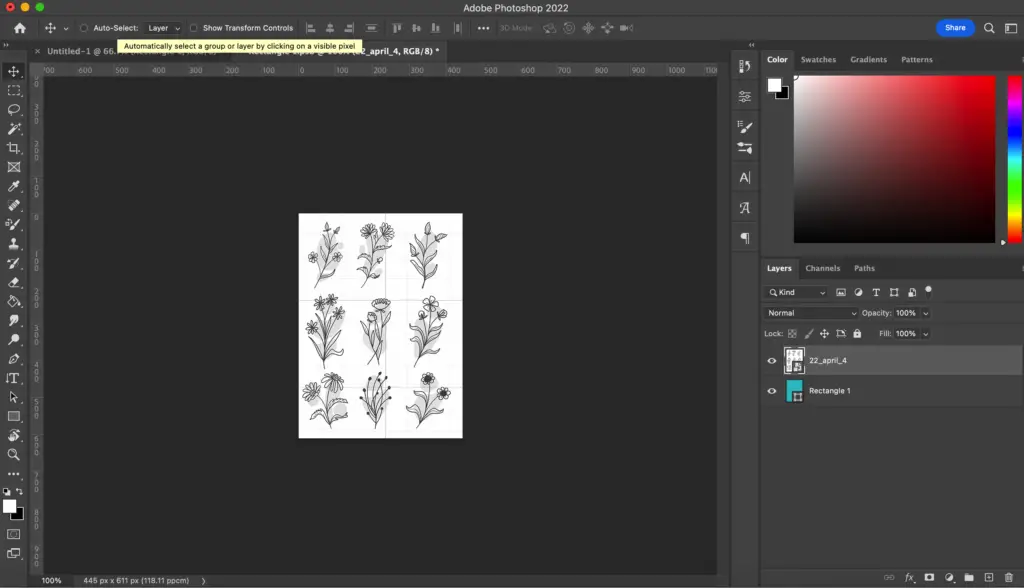
You Now Have a Mock Up!
Once you close the popped window, you’ll see that your product image has already been incorporated into the mockup!
More Tutorials
If you enjoyed this mockup tutorial, check out our Tutorial Page! You might find something useful for your digital art journey.
